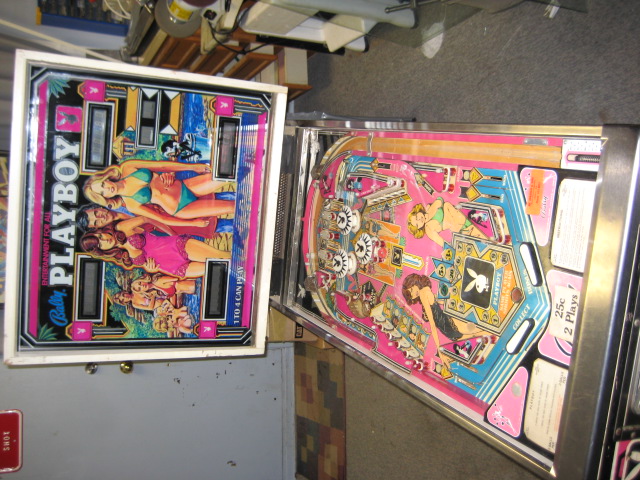
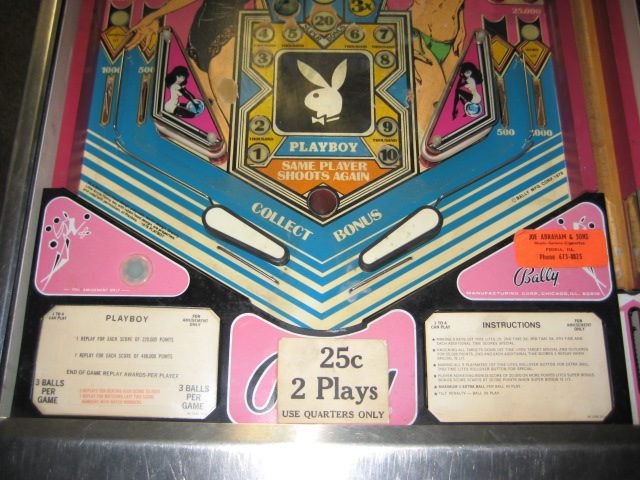
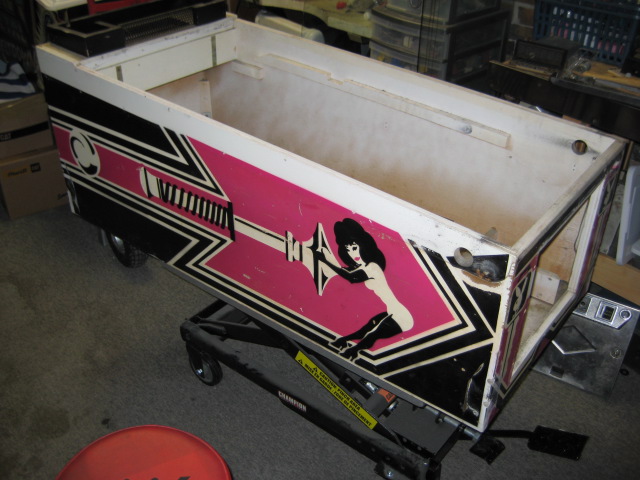
I just picked up this pin from Jim. A fully working Bally Playboy. Considering that this machine is 30 years old, it's condition is quite good. Other than needing a shop job, it is pretty good as is. BUT... this machine is for my cousin, so I want to make it as top-shape as possible. It shouldn't be a very hard project. Here's a breakdown of the condition:
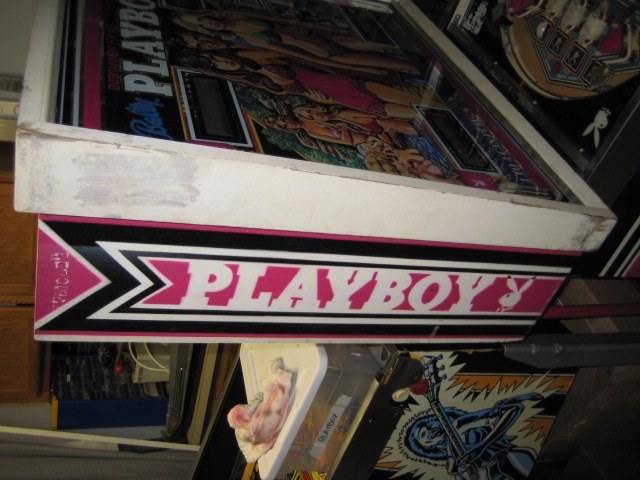
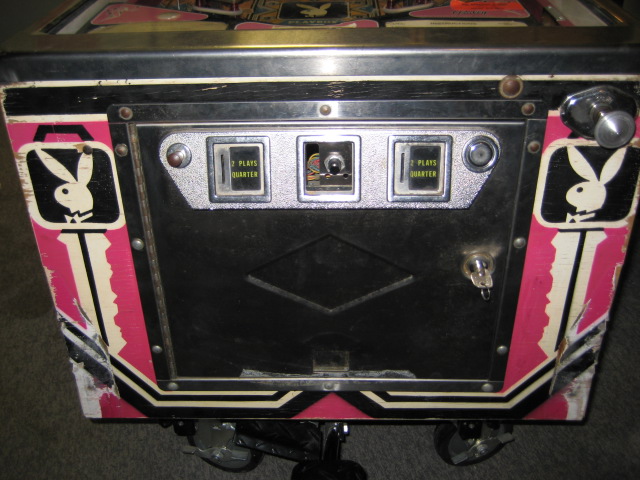
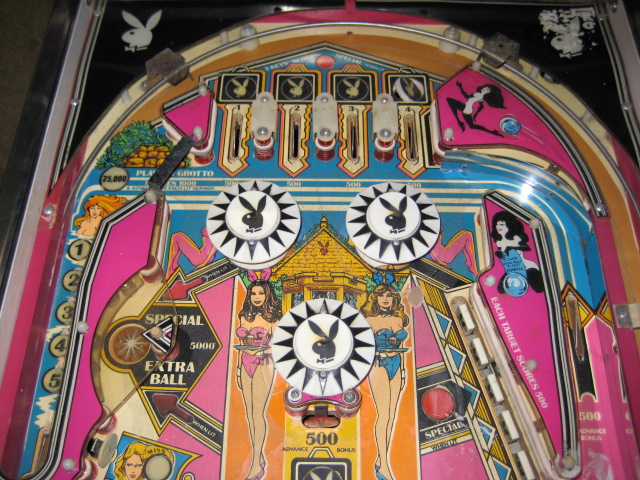
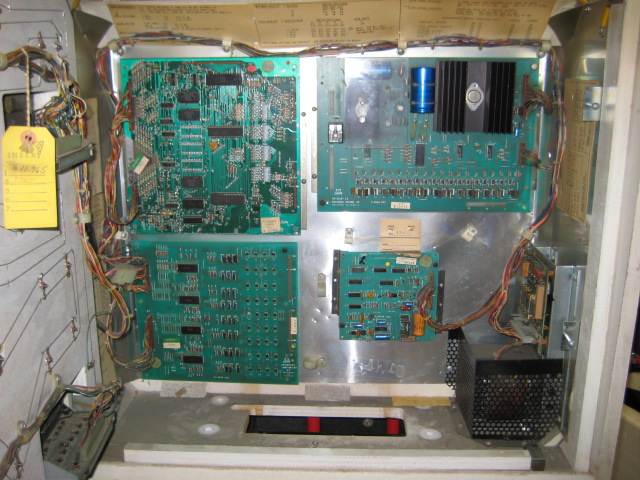
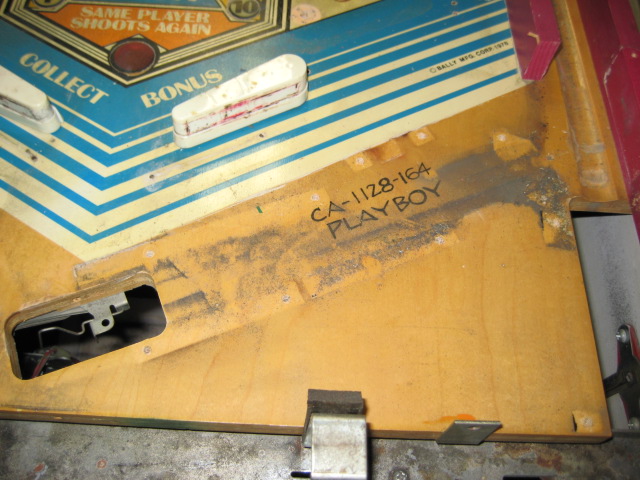
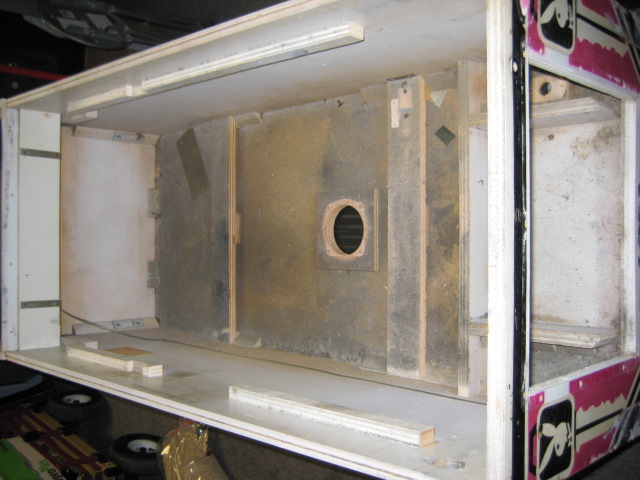
- Backglass is near mint. Just needs a good cleaning. - Playfield has some wear around the bonus area and slings. Nothign major compared to most Playboys. Filthy though. Plastics a bit warped but OK. 1 plastic has sticker residue on it. Apron a bit faded. - Bottom cabinet is very dirty inside (aren't they all...), some rust on metal parts, and bottom of the cab has minor damage (typical chipping wood around the edges of side panels, causing the bottom to start to drop down). 1 leg is bent, but I have spares. - Coindoor a bit dented, nothing major, but very dirty - Backbox paint a bit rough around the backglass supports, but otherwise very good - Boards look good, but have a couple of broken solder joints that will need attention.
So the plan is to touch-up and clearcoat the playfield, repaint the cabinet, and polish all metal parts to make this game nice and fresh. So I started tonight by completely dissassembling the top of the playfield in order to give it a good cleaning. I already did some test areas (in the previous pics, the one of the center of the playfield, I used the Magic Eraser and alcohol and it came out nice).
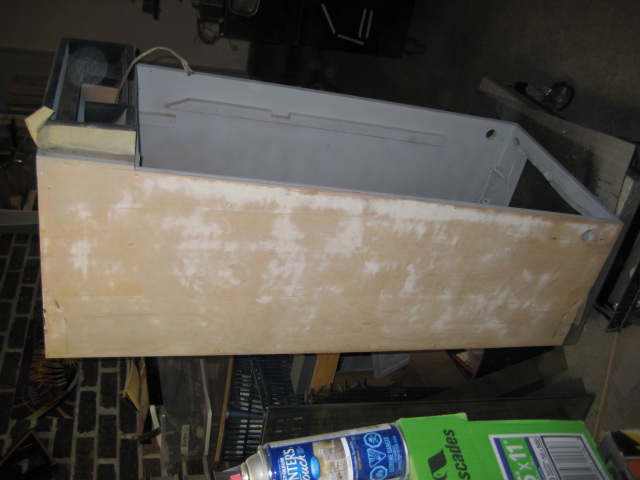
I then put the playfield aside and am now concentrating on the cabinet, bottom one first. All metal parts are removed, and going through the polisher as I write this. I will polish all the big metal parts later on, and start creating stencils for the cabinet. I have a wood side rail from the playfield which I will use to get a color match at Home Depot later on this week. Other than that, white and black. Easy enough.
The other pics are of the in-progress cabinet work. Yes... I removed the siderails...
I could pick up some stencils from pinballpal for it @ allentown if you want... 120$
actually I think 10$ less since I'm probably going to pick up some for BK
Thanks for the offer, but no... the graphics on this pin are not that difficult to reproduce on acetate. If it were an EBD or Xenon, then yes, but Playboy is pretty straightforward. Besides... I don't know who painted this cab at the factory but it must had been a rough night the day before, because there is massive amounts of overspray.
I will take a trip to Omer DeSerres today and pick up 20$ worth of acetate. I will use the 100$ saved on the plastics.
Well, I started with the cabinet stencils tonight. If anyone is wondering where to get the supplies, here goes:
- Sheets of 25 x 50'' of thick acetate are found at Omer DeSerres at 7.95$ each. Smaller 20x25 sheets of thinner acetate are 1.95$. You need to add a bit of smaller acetate to the larger one since a cab is 53 inches long, or something like that.
- Get yourself an X-Acto kit from Canadian Tire or any other hardware store... great to have for other projects as well.
In the case of Playboy, for the bottom cab, since the art is reversible, I only need to make one set of stencils for one side and simply flip it over (after the paint dries on them, of course) to do the other side. So, 2 large acetates (1 for purple, 1 for black), 1 small acetate (to extend the large ones a bit), and one small acetate for the front of the cab. I also got 1 large acetate to do the backbox. I have more than enough to do 4 stencils with one sheet, and the thicker acetate won't move around.
Simply lay your acetate on the art, and trim the sides so that you eliminate any alignment problems later on when painting. Then simply use a thin sharpie and trace. I put a transformer on the acetate so that it doesn't move around when I trace.Once done, grab a piece of cardboard and lay the acetate on it. This will permit an easier cut with an x-acto as the blade won't hit anything hard when cutting through the acetate.
Painstaking? Yes. But best of all, REUSABLE!!!!! I have done it this way in the past and used 1 stencil kit on 3 Alien Poker cabs. Worked good!
Best advice to follow is that when you use the stencils, spray light coats!! Also use old nuts and bolts, or even rocks to hold the stencil in place.
Once my stencils are done, then I can work on the wood of the cab. I will post in the Tips And How To section on a couple of tricks I use, namely how to fix the bottom of a cabinet on which the wood of the side panels is chipping off and the bottom panel is falling out.
OK... 4 hours of tracing and cutting, and my stencils are done. I now can start working on the cab!!!
I started by fixing the bottom of the cabinet. Typical wood chipping and the bottom was starting to sag down in a couple of places. Check out the repair here:
- sanded the interior of the cab quickly, vaccuumed it and painted it, with 4 coats where the inside of the cab is visible with the playfield inside
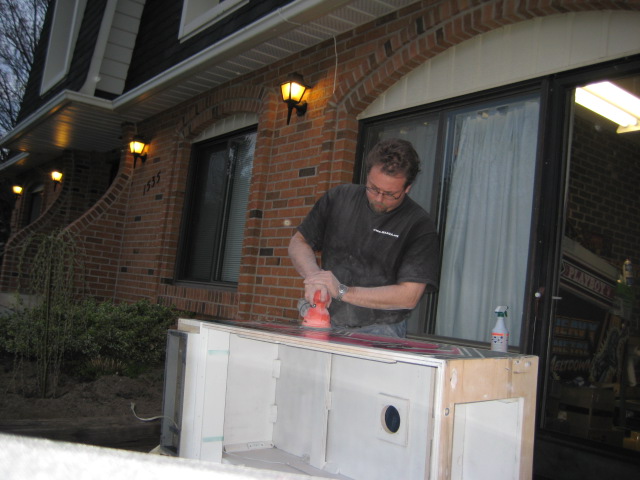
- sanded the exterior completely with 60-grit
I now have to fix any rough spots with Plastic Wood and resand with 220-grit.
I used Rust-Oleum semi-gloss oil-based spray paint for the cab. Simple white. I also got the same paint in black for the details. I also had a pint of purple/pink paint done. i had the color mtched just right from a spot on the cab which was covered, so the paint wasn't faded or altered. I was lucky that I found a correct color chart and found it easily. Using CIL oil-based paint, and the color is Fuschia-Berry. I will use my paint gun for that one...
Nothing new since the end of the game? Must be still in mourning. Habs are a great team to watch, consider yourself fortunate you didn't have to watch The Luongo's. Great thread - very interested in your progress. ooops sorry if hijacked
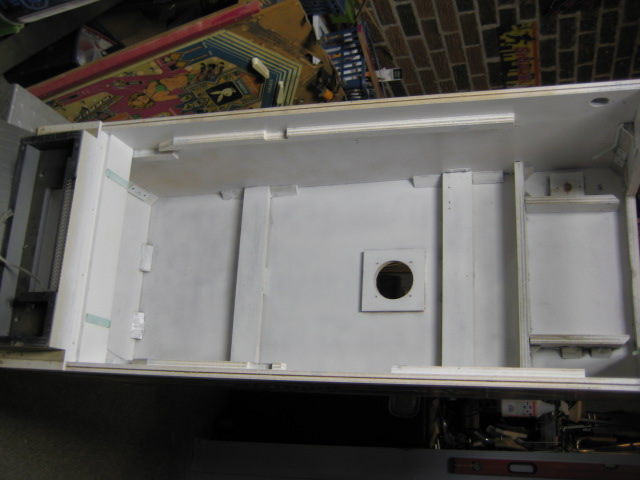
I finished painting the bottom cabinet white late last night. I used a Zinsser Stain Killer Bond Coat primer... this stuff covers anything. Available at Home Depot in a spray can. Works great, and covers a lot on one spray pass.
Then over a course of 3 days, I put on 4 coats of white paint (by spray can) and making sure of letting enough dry time between coats. What I did was 3 thin coats and then one heavy coat. This worked out great since it eliminated most of the undesirable overspray effect when using a spray can with quick-dry paint. The only inconvenience is that your surface must be flat, and you make sure you give it 24 hours to completely dry before turning it over or manipulating the cabinet.
I should start putting on graphics soon, after painting the backbox, but I want to test my HVLP gun with the pink-purple paint first on some cardboard, in order to eliminate any goofs... should be OK though, just have to find an optimal pressure setting in order to ensure good coverage, but not blow the stencil clean off the cab.
I will post pics tonight of the backbox with the original color and the fresh new white... what a difference. The backbox will probably get sanded down tonight. I already painted the front panel after removing the displays and properly taping, and using old electrical marrettes I had to plug the light holes... wouldn't want any paint in the light sockets... I simply used the primer here. No paint. Looks clean, no more burn tracks from the lights.
I removed all the boards and the power supply from the backbox and I will be bringing them to Mindstorm88 for a complete refresh and updating. As for the displays, I am still tinkering with the idea of getting PINLed displays... not sure yet though. I might just try and dig up a couple of nice displays or rebuild them. They have seen better days. I can always test the ones from my Eight Ball (which won't be done for another couple of months...).
...I bet you anything that this Playboy will fetch a fair price when I will be done if my cousin decides to sell it...


 Sparky

 Male
Male


 Logged


 I have done it this way in the past and used 1 stencil kit on 3 Alien Poker cabs. Worked good!

 MAACA ARCHIVES - JOIN THE NEW FORUM AT HTTP://WWW.MAACA.ORG › General Boards › Projects › 1978 Bally Playboy project


